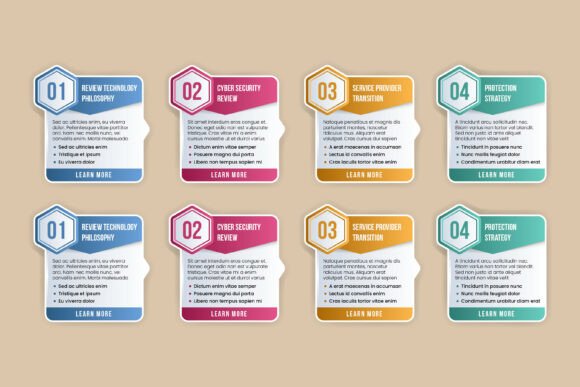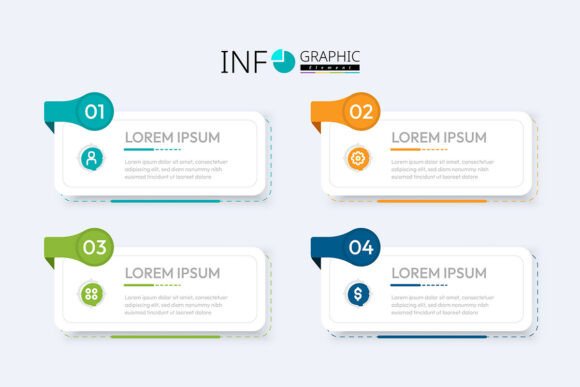
Modern 4-Step Business Infographic Layout
If you’ve ever tried to explain a process—like launching a new product, onboarding a client, or optimizing a sales funnel—you know how quickly words alone fall short. A well-designed Modern 4-Step Business Infographic Layout turns abstract ideas into clear, memorable visuals. It’s not just decoration: it’s strategic communication. This layout organizes complex workflows into four logical, sequential stages—each with space for concise text, intuitive icons, and visual hierarchy—all built for clarity, consistency, and impact.
Why this layout resonates across roles
Whether you’re a freelancer pitching a service package, an educator simplifying a lesson plan, or a small business owner updating your website’s “How It Works” section, the Modern 4-Step Business Infographic Layout meets real needs. Its strength lies in balance: enough structure to guide understanding, but enough flexibility to reflect your brand voice, data, or story. Unlike generic templates that force content into rigid boxes, this layout supports thoughtful flow—step one builds naturally into step two, and so on—without overwhelming the viewer.
Common oversights—and what they cost you
Many people download or purchase a Modern 4-Step Business Infographic Layout thinking it’s “plug-and-play.” That assumption leads to avoidable missteps—some subtle, some costly.
Mistake #1: Assuming “fully editable” means “effortlessly adaptable”
“Fully editable template” sounds promising—but only if you know what software you’ll use and what edits you actually need. An EPS file is vector-based and ideal for scaling without quality loss, but it requires Adobe Illustrator (or compatible vector software) to unlock full editing power. If you open it in Photoshop or Canva expecting drag-and-drop changes, you’ll hit limits fast: layers may be flattened, fonts substituted, or colors shifted unexpectedly. One marketer spent hours trying to reposition icons in JPEG format—only to realize she needed the EPS version to adjust spacing without pixelation.
Mistake #2: Overlooking color mode before final use
This template ships in RGB color mode—perfect for digital screens, websites, social posts, and presentations. But if you plan to print brochures, posters, or business cards, RGB won’t translate accurately to CMYK printers. Colors may appear washed out or shift dramatically (e.g., vibrant blues turning dull). The fix isn’t complicated—but it *must* happen early: convert to CMYK *after* finalizing design, then manually adjust any affected hues. Skipping this step means reprinting—or worse, presenting inconsistent branding across channels.
Mistake #3: Ignoring resolution context
“High-resolution files, ready to use” is true—but “ready” depends on *where* you’re using them. The JPEG version is excellent for web banners, email headers, or embedded slides—fast-loading and crisp at standard screen sizes. But zooming into a large-format display (like a trade show backdrop) will reveal pixelation if you scale beyond its native dimensions. Meanwhile, the EPS file scales infinitely—but only if used in vector-compatible environments. Using JPEG where EPS is needed—or vice versa—undermines professionalism and weakens audience trust.
What to check before downloading or buying
Before committing, ask yourself three practical questions:
- What’s my primary output? Website or social media? Stick with JPEG. Need scalable assets for multiple formats (web + print + presentations)? Prioritize EPS.
- Which tools do I actually use—and am I comfortable with them? If you rely on Canva or Google Slides, confirm whether the template includes compatible versions (e.g., PNG with transparent background or SVG exports). Don’t assume compatibility.
- Does the layout support my content—not the other way around? Review the spacing between steps, icon sizing, and text hierarchy. Does it leave room for your messaging, or will you be cramming? A good Modern 4-Step Business Infographic Layout gives breathing room—not cluttered density.
Better choices start with intention
Instead of rushing to customize, pause and sketch your core message first. What are the four essential actions or milestones your audience needs to grasp? Write them in plain language—then match each to a visual cue. For example:
- Discovery → Magnifying glass icon + brief description of research phase
- Design → Lightbulb or blueprint icon + note about solution development
- Delivery → Box or handshake icon + timeline or handoff detail
- Review → Graph or checklist icon + feedback loop or KPI summary
This approach keeps the layout serving your goals—not the reverse. It also prevents overdesign: swapping every icon, adjusting every gradient, or adding animations just because you *can*. Simplicity reinforces clarity. Consistency builds credibility.
Realistic expectations for beginners and pros alike
If you’re new to infographics, remember: this isn’t about mastering design theory overnight. It’s about leveraging a proven structure to communicate more effectively—faster. Start with the JPEG version in your presentation tool. Swap placeholder text, test readability at different sizes, and get feedback from a colleague who hasn’t seen your process before. Their confusion points are your strongest editing cues.
For experienced designers, the EPS file offers precision—but don’t skip alignment checks. Even minor inconsistencies in icon baseline, text weight, or step spacing can disrupt rhythm. Zoom out to 25% view: does the eye travel smoothly left-to-right, top-to-bottom? If not, adjust spacing—not just size.
Final note: Your message deserves clarity—not complexity
A Modern 4-Step Business Infographic Layout works best when it disappears into the background of understanding. When viewers focus on your idea—not the design’s quirks—they absorb more, remember longer, and act sooner. That happens not through flashy effects or endless customization, but through smart structure, intentional color use, appropriate file selection, and respect for your audience’s time and attention.
Choose the version that matches your workflow—not the flashiest one. Edit thoughtfully—not exhaustively. And always test how it looks where it lives: on a phone screen, beside your logo, under fluorescent lighting in a conference room. That’s how professional results begin.